Yes, you read it right. I grew this stuff in a box stuffed under the stairs in my backyard. Genius, right? (how well does sarcasm carry on the internet you ask? not well.)
Alright. So if you are much into the artsy fartsy things, you will have most definitely seen or heard all about this glorious thing called, chalkboard paint, that people are making in their homes. Where they then proceed to putting it on everything from their walls to jars and everything in between that. Basically anything they felt would benefit from chalkboard paint, became smothered in the stuff.
After seeing lots of different pictures and articles about it, I decided to try it myself. When it comes to organizing I can get somewhat OCD, so I wanted to try it on glass jars for storing kitchen things. That way, I could use it for different items and just write what I currently had in the jar on it!
Brilliant, am I right? Well I discovered it’s not completed so easily. And my first mistake was most likely from the fact I used acrylic paint instead of something like house wall paint. Tougher, won’t wash off, and all that.
This site and this other one are the two sites I tried to combine instructions from and find my way through all the mess called, chalkboard paint. One of those is from a Martha Stewart site and the other one is from this girl’s blog I found by doing a Google search. Martha Stewart seemed to have it more together, but I had the other one just for reference backup.
Below are the pictures documenting my adventure.
Let’s just say, before you go any farther, that it didn’t turn out perfectly ideal, but heck, I can write on it with chalk. Therefore, I consider it about a 50/50 success.
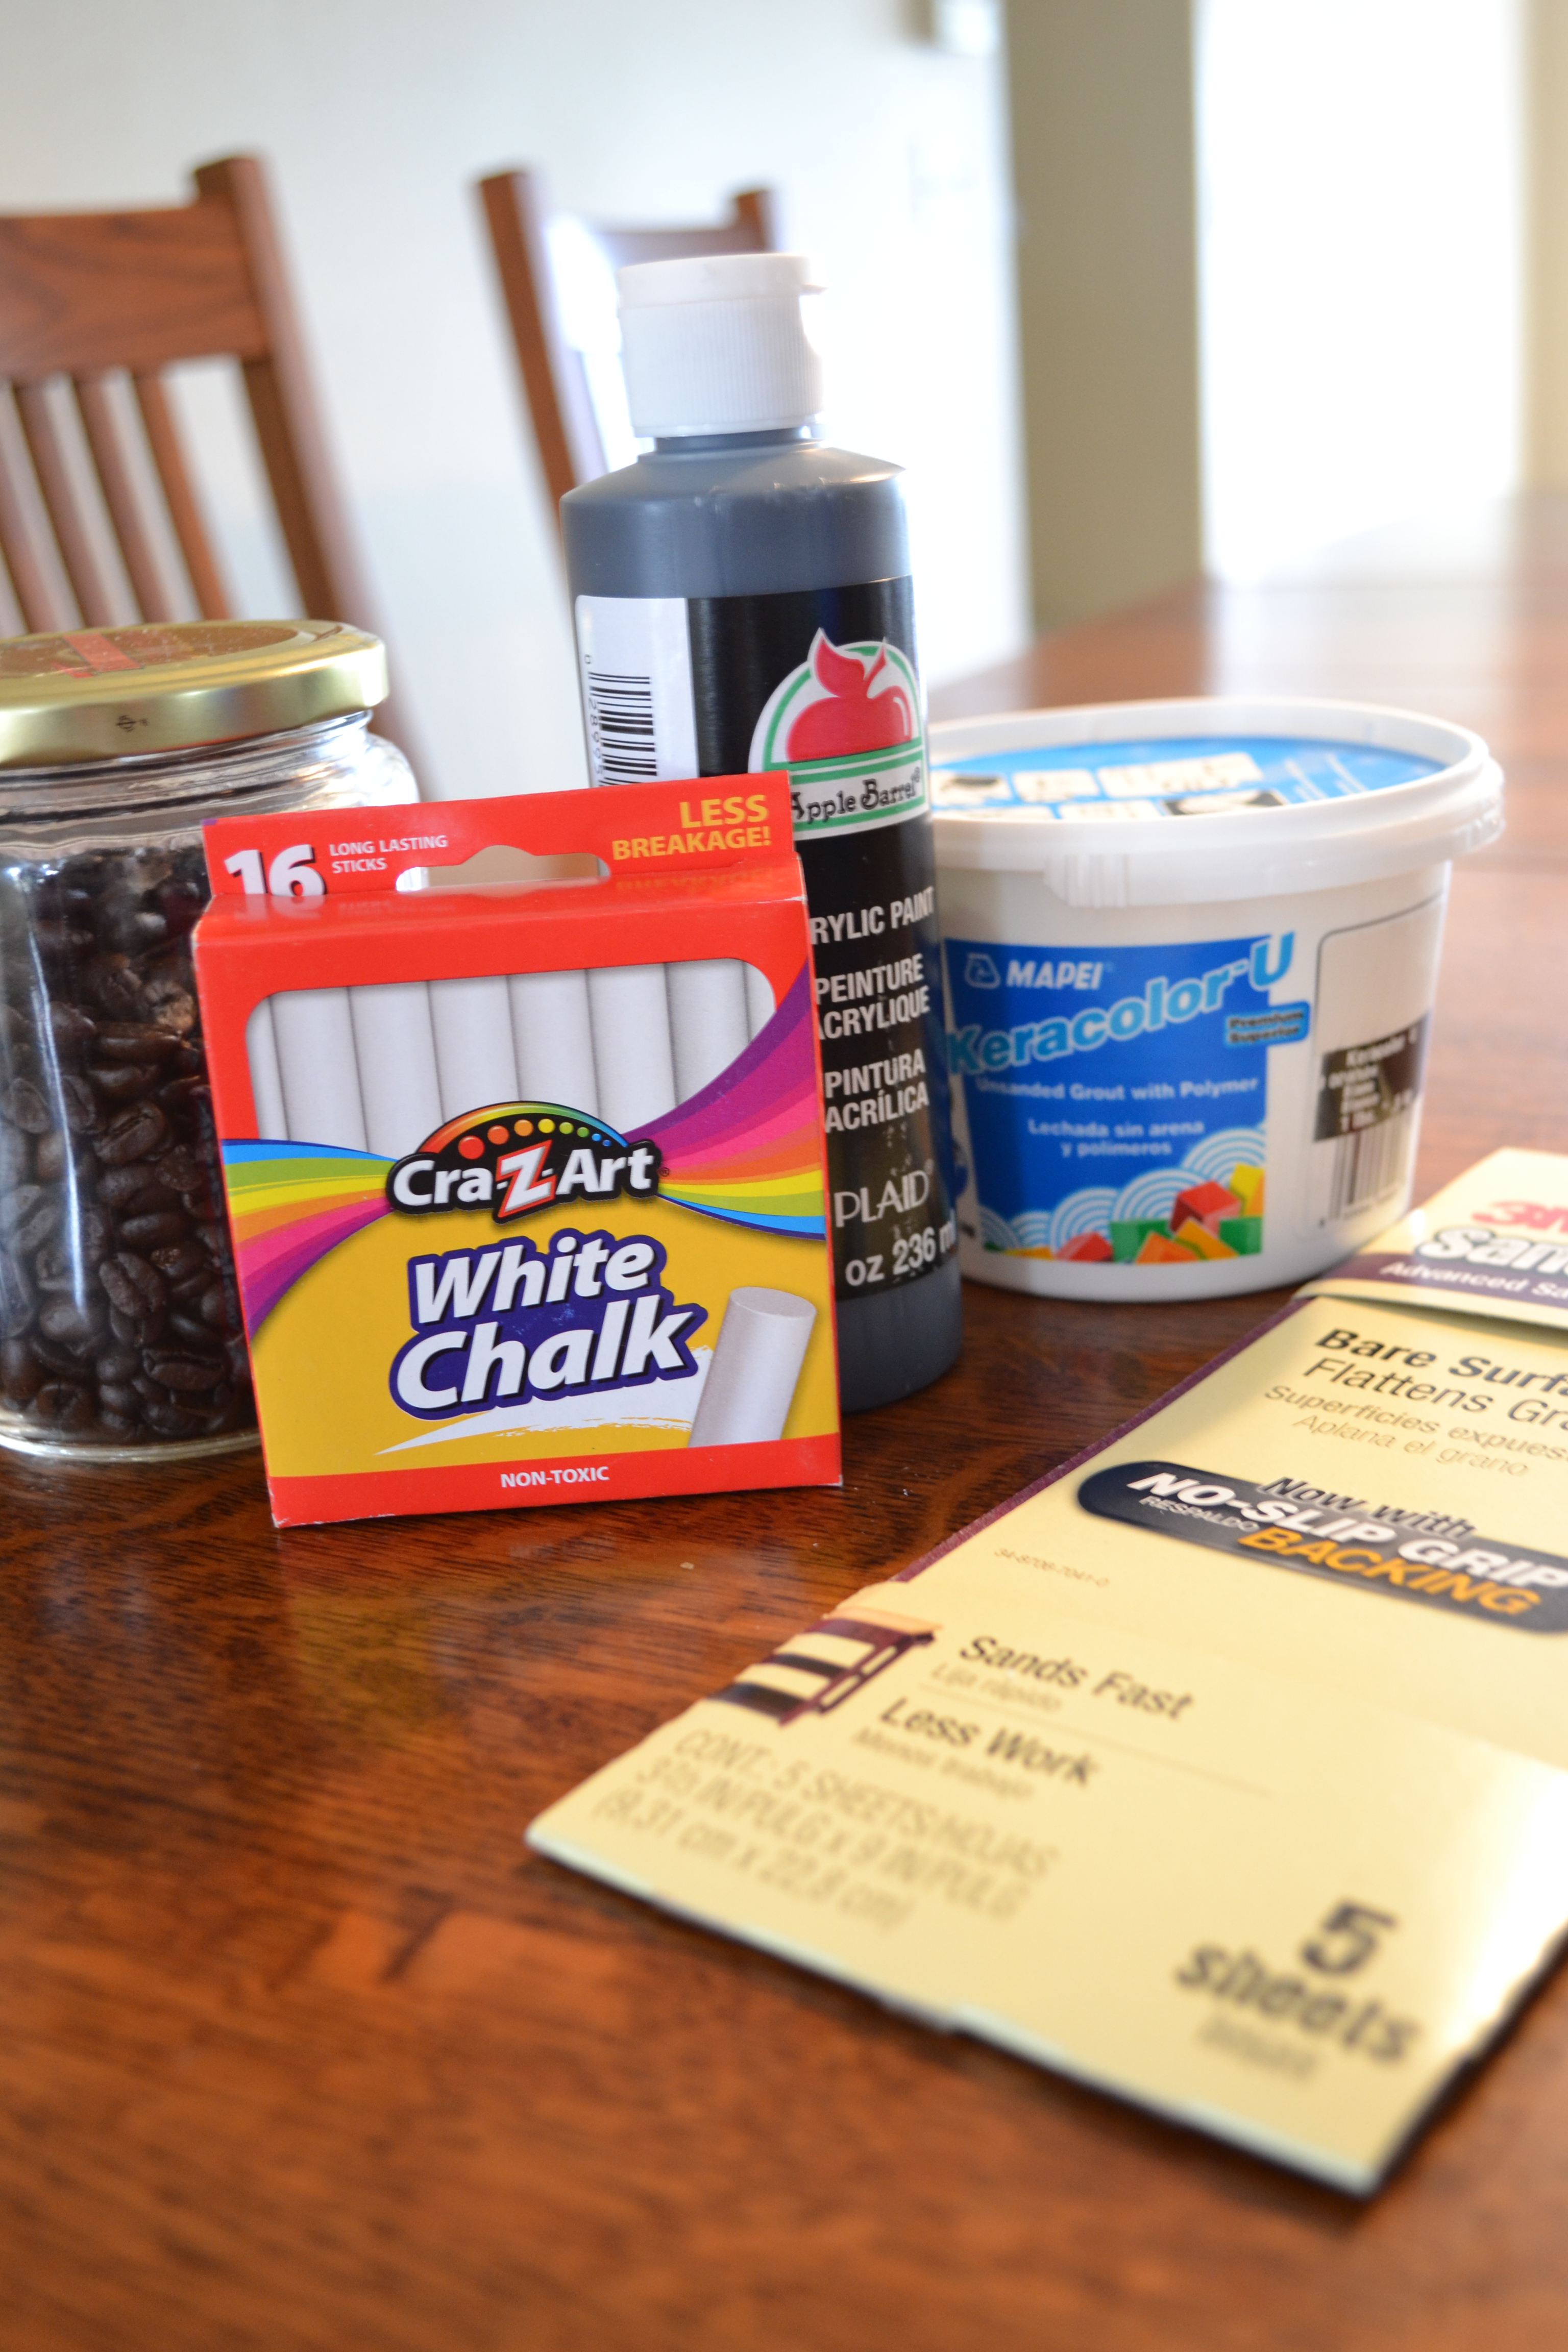
These are my supplies! All of which were purchased at WalMart minus the jar and the grout. The jar was just lying around my house.
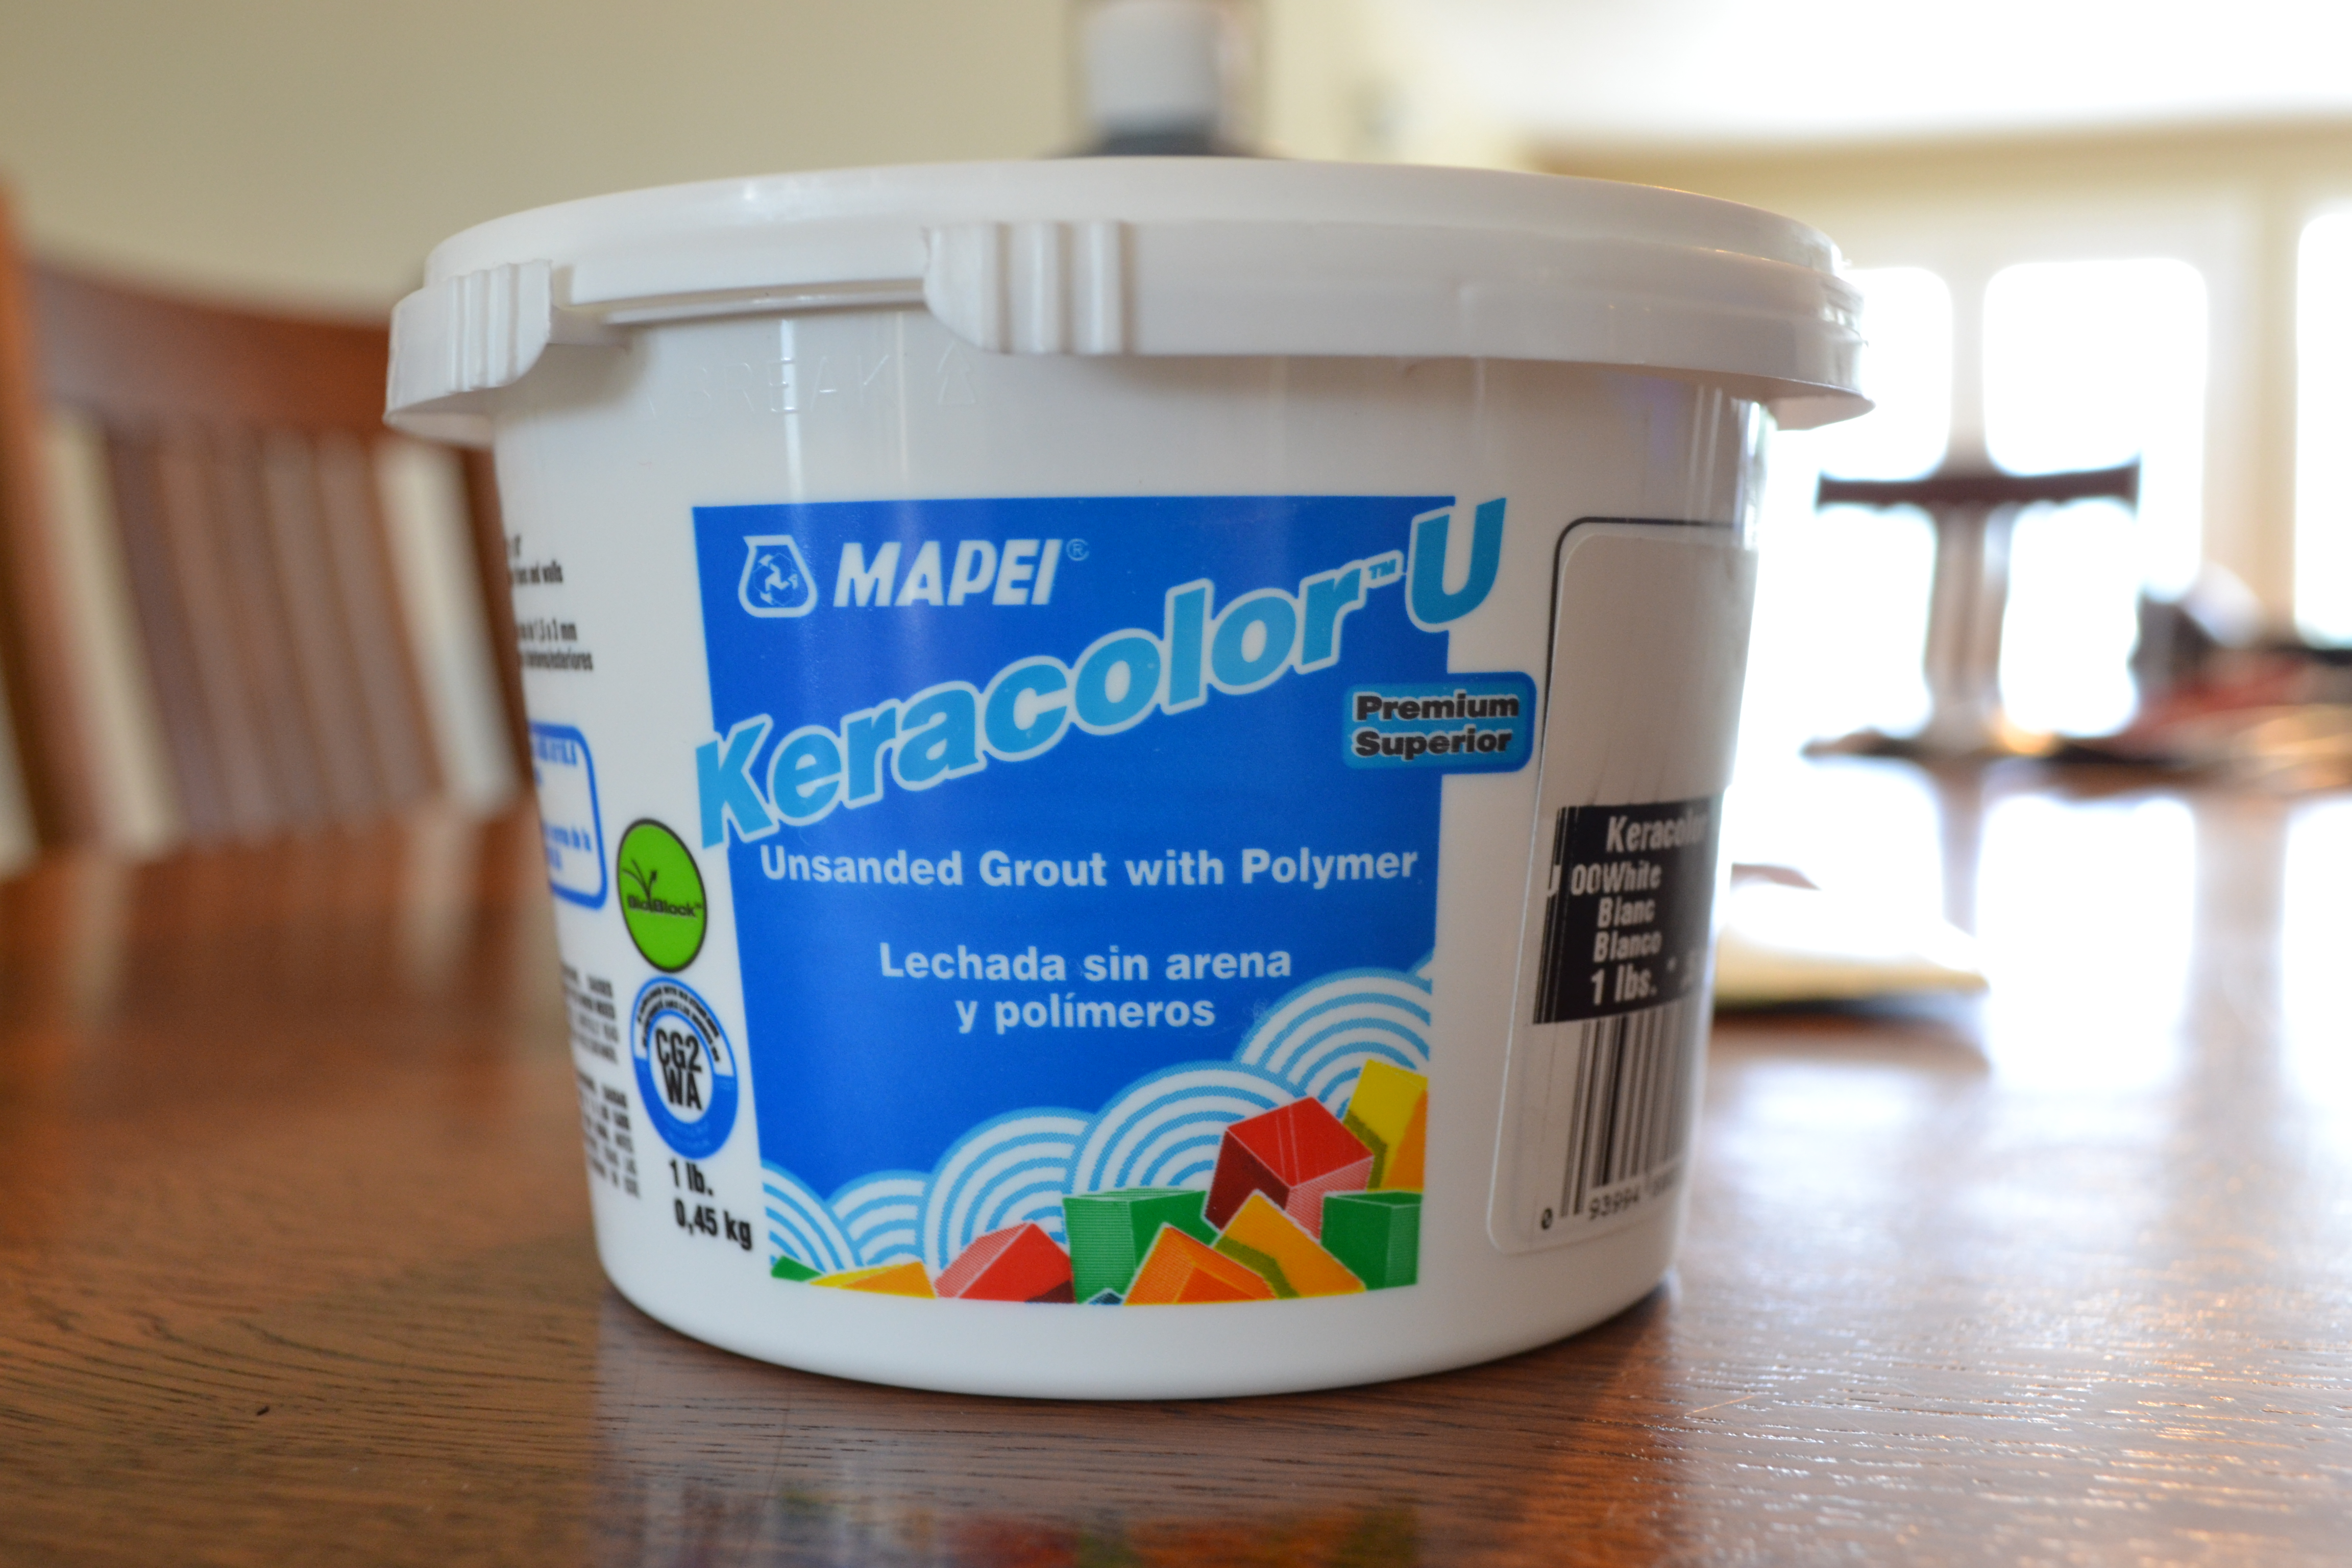
Grrrrrrrrout! I bought this at Lowe’s Hardware over in the tiling section. If I remember correctly it was about $5.
As long as you aren’t planning on painting half your house, this one container should last you for quite a few projects. You definitely use more paint than grout when mixing it all up.
NOTE: On using sandpaper to get rid of the little bumps that you will encounter at the end, be sure to use ONLY 150-grit sandpaper. I could not find that so I tried to work with 120-grit and it was much too harsh on the paint.
Lesson learned. When I decide to spend the money and time to try this again, I will NOT be using acrylic paint. You need something that will not wash/rub off. Which will most likely end up being house wall paint or something of the sort.

My cute little jar! (cute?? since when are jars cute? yeesh.) As you can see, being the coffee addict I am, my java beans are safely stored inside.

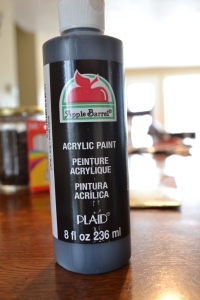
Happy paint!
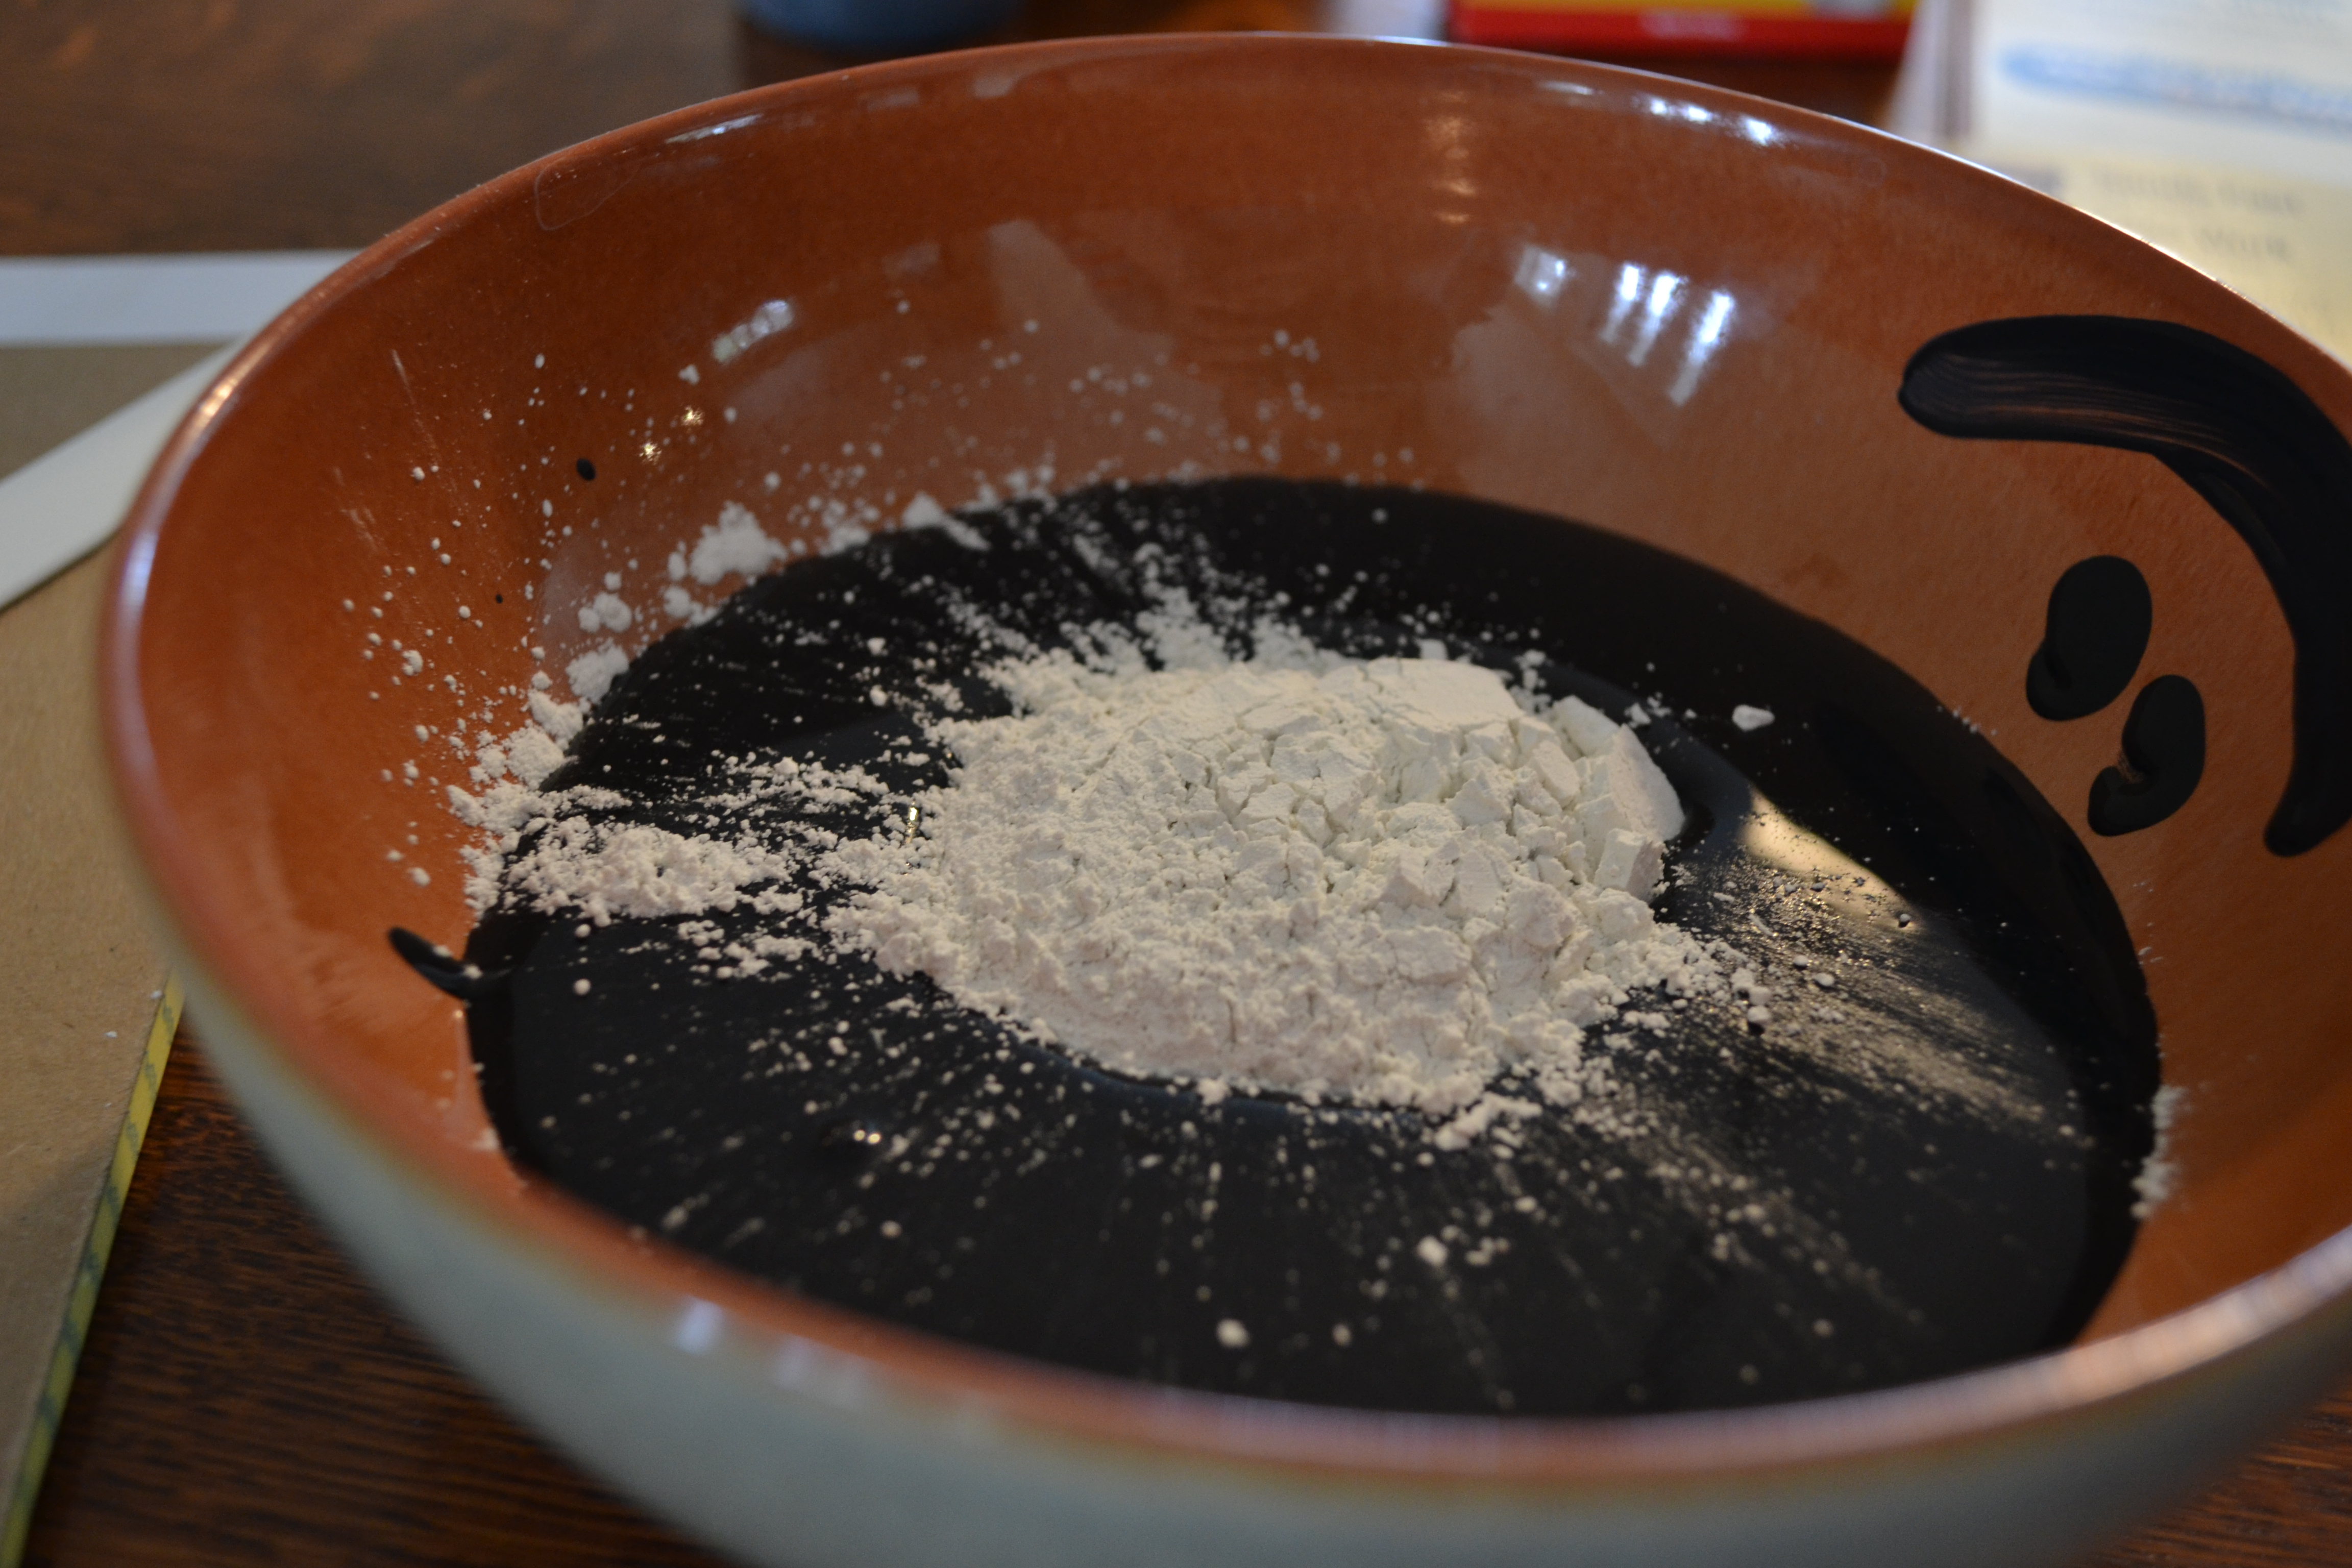
Grout + paint = Chalkboard Paint! I think..
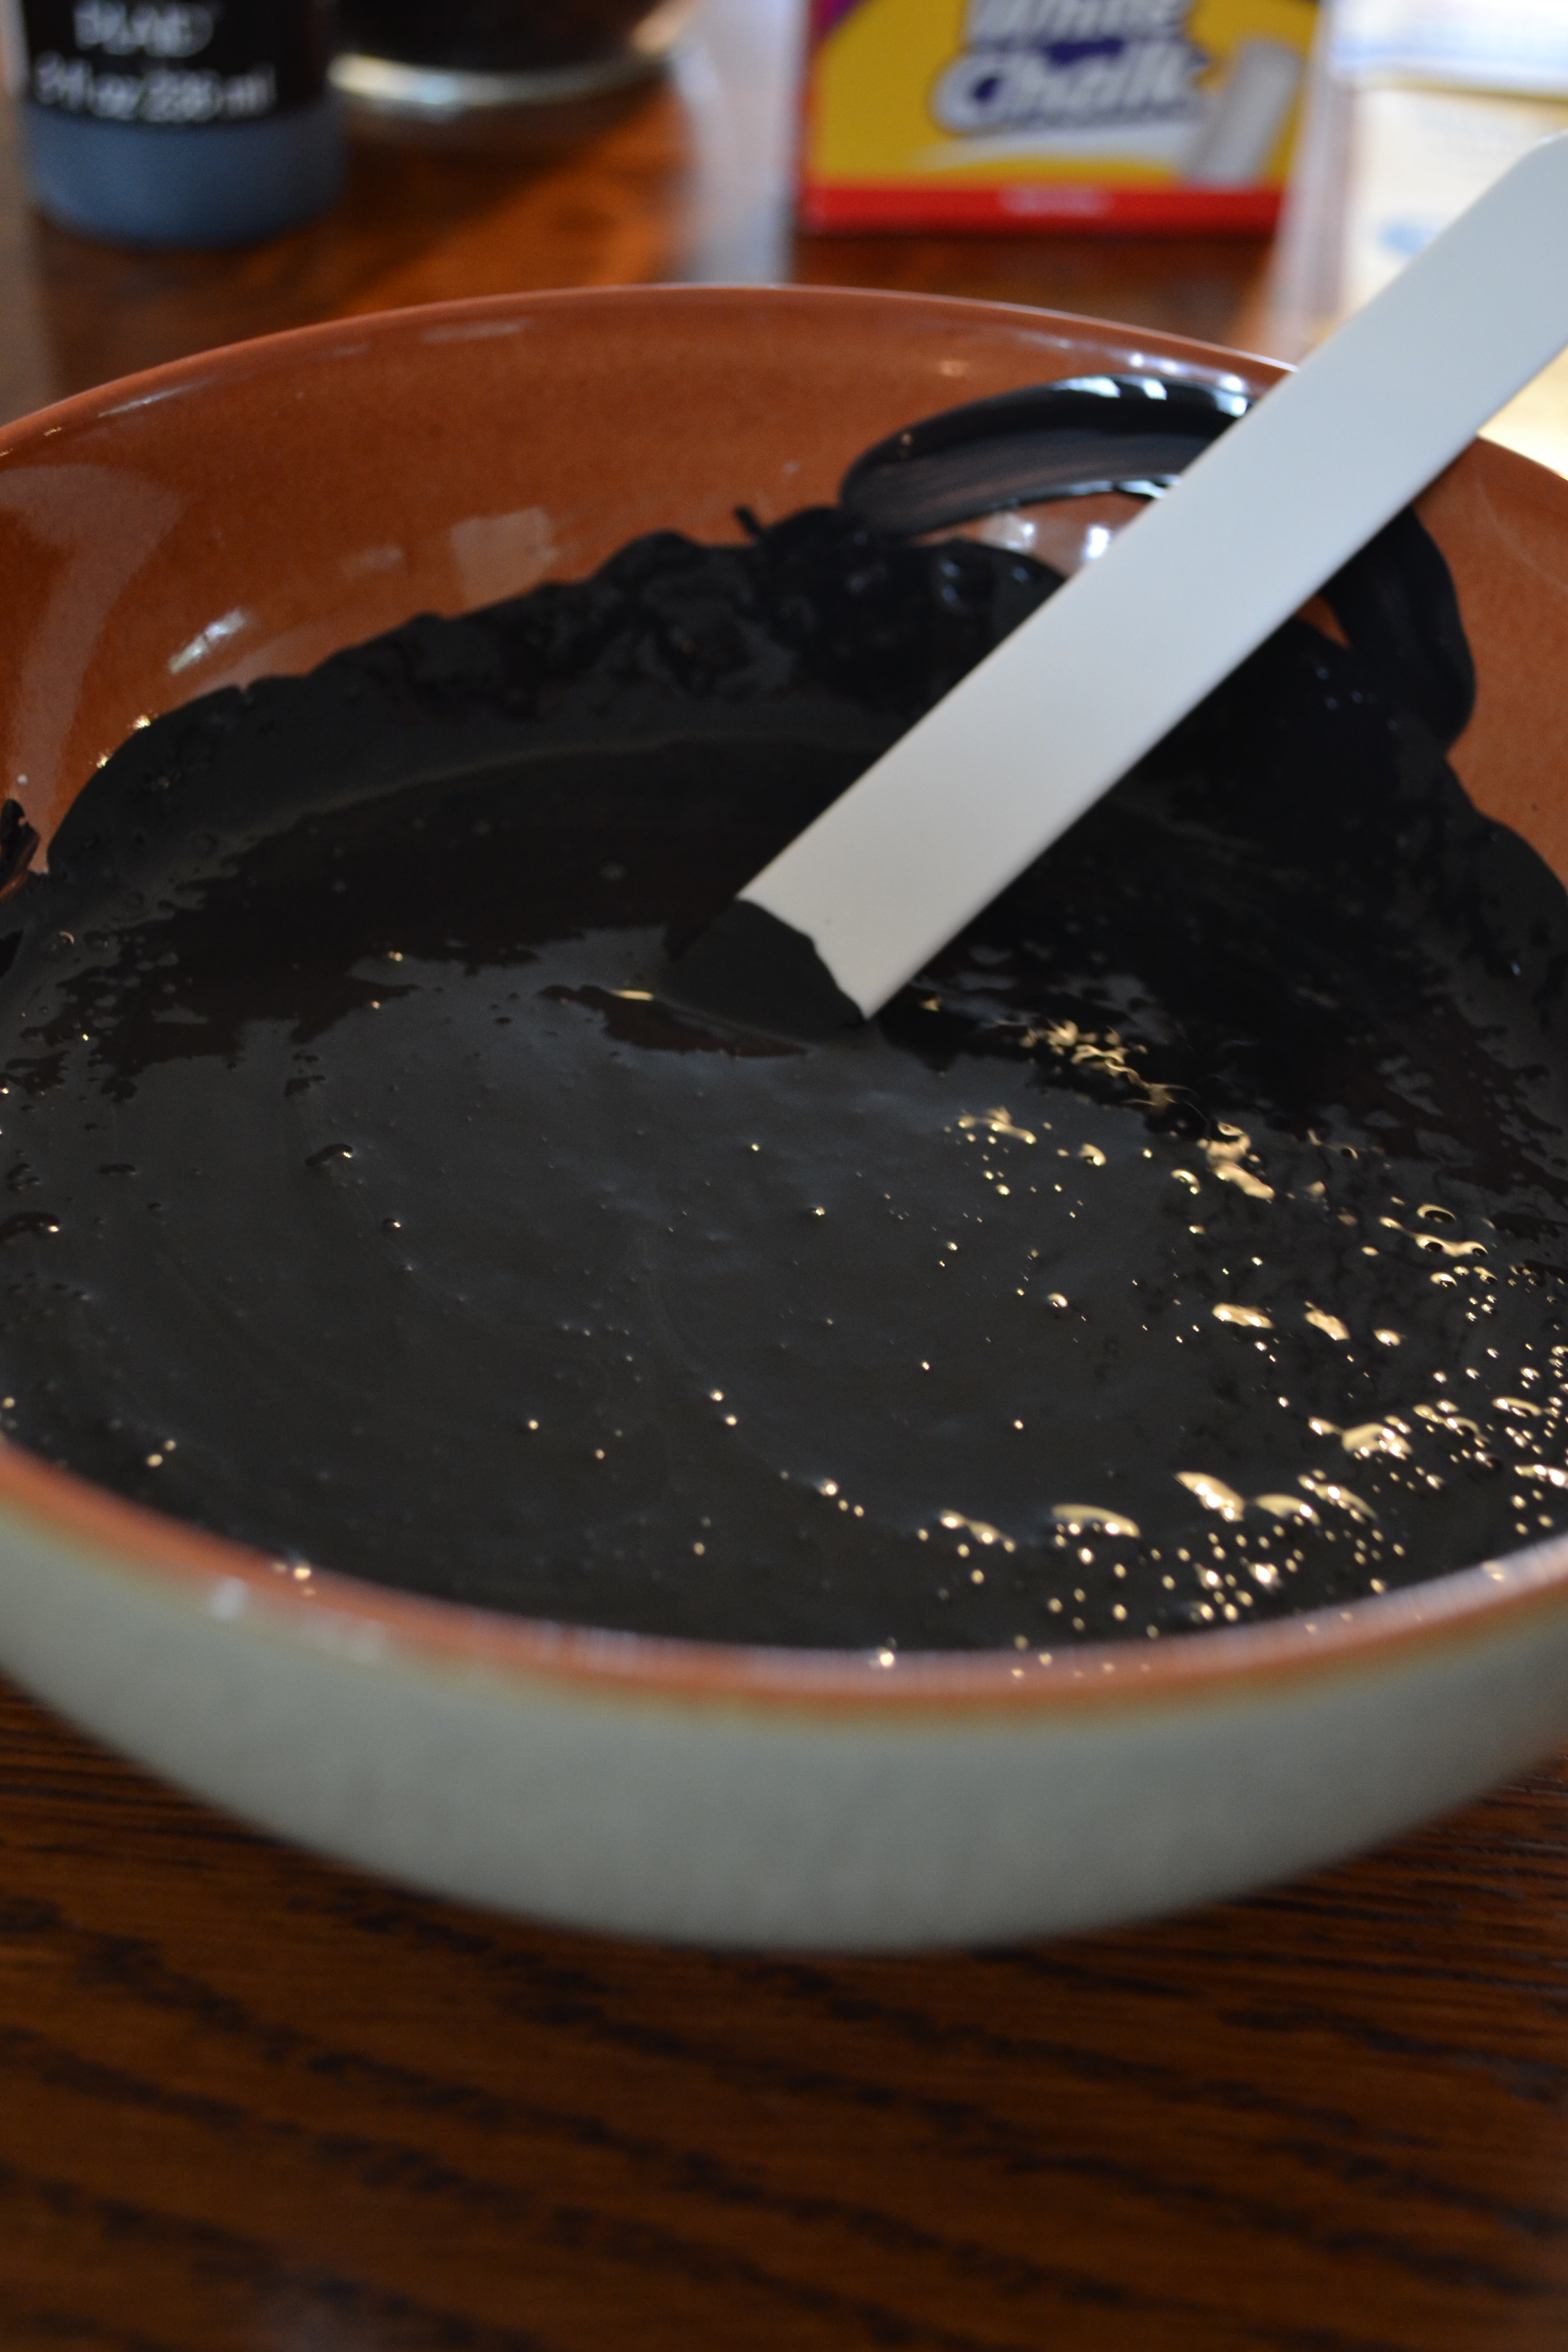
This is after I’ve mixed it up. Don’t worry, it will look a little gritty, but as long as there are no lumps, you should be good to go.
Besides, all the little flecks can be removed at the end with sandpaper.
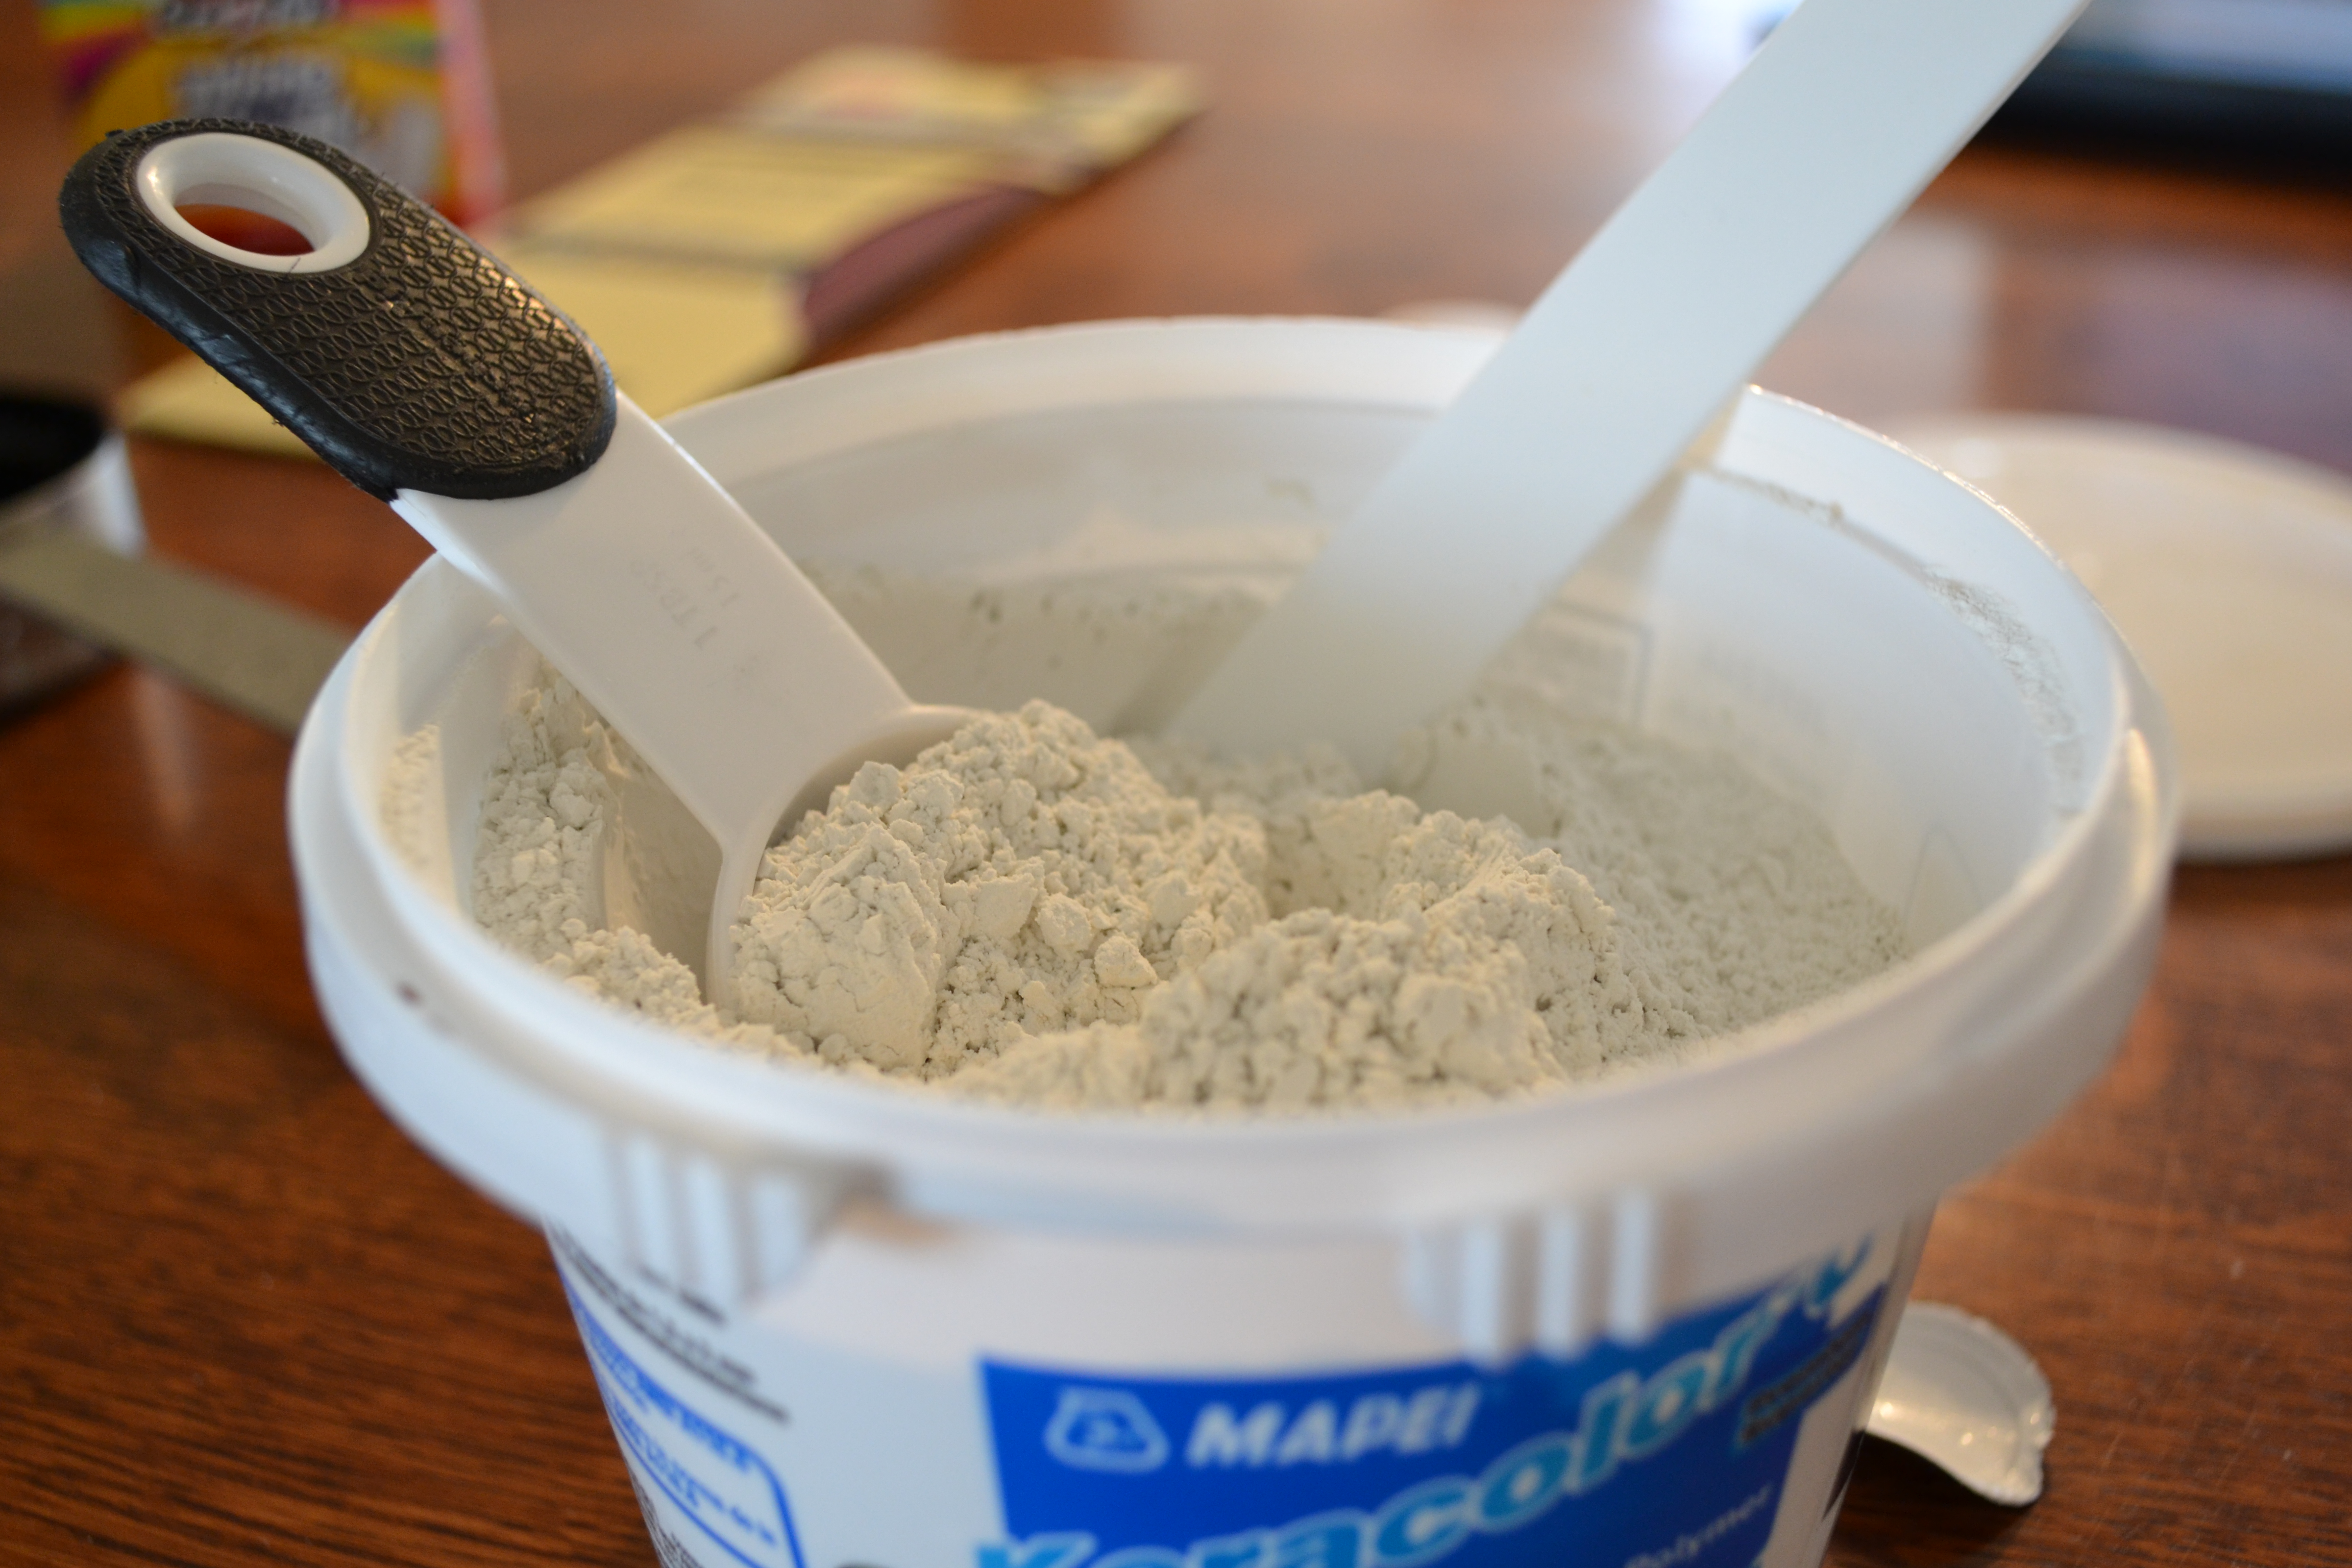
Here is the actual grout. Did I mention that when combined with the acrylic paint this stuff smells to high heaven?? I was shoving my face in my shirt. It was most potent. Not sure if it was just the type of paint I had or what..
Forgot to mention. I don’t have a photo of the completed project once it was all dried and I wrote on it. I will have to take a picture and post it within the next few days. Also. I’m not sure if it’s again the paint I used or what, but I had to apply several coats before I considered it to be comfortably thick enough and wouldn’t rub off when I wrote on it. Keep that in mind should you decide to take on this experiment.
Realize, this was a test in all aspects. I don’t consider this any great accomplishment, but I was proud that I even drudged up the courage to try it. Yay me!
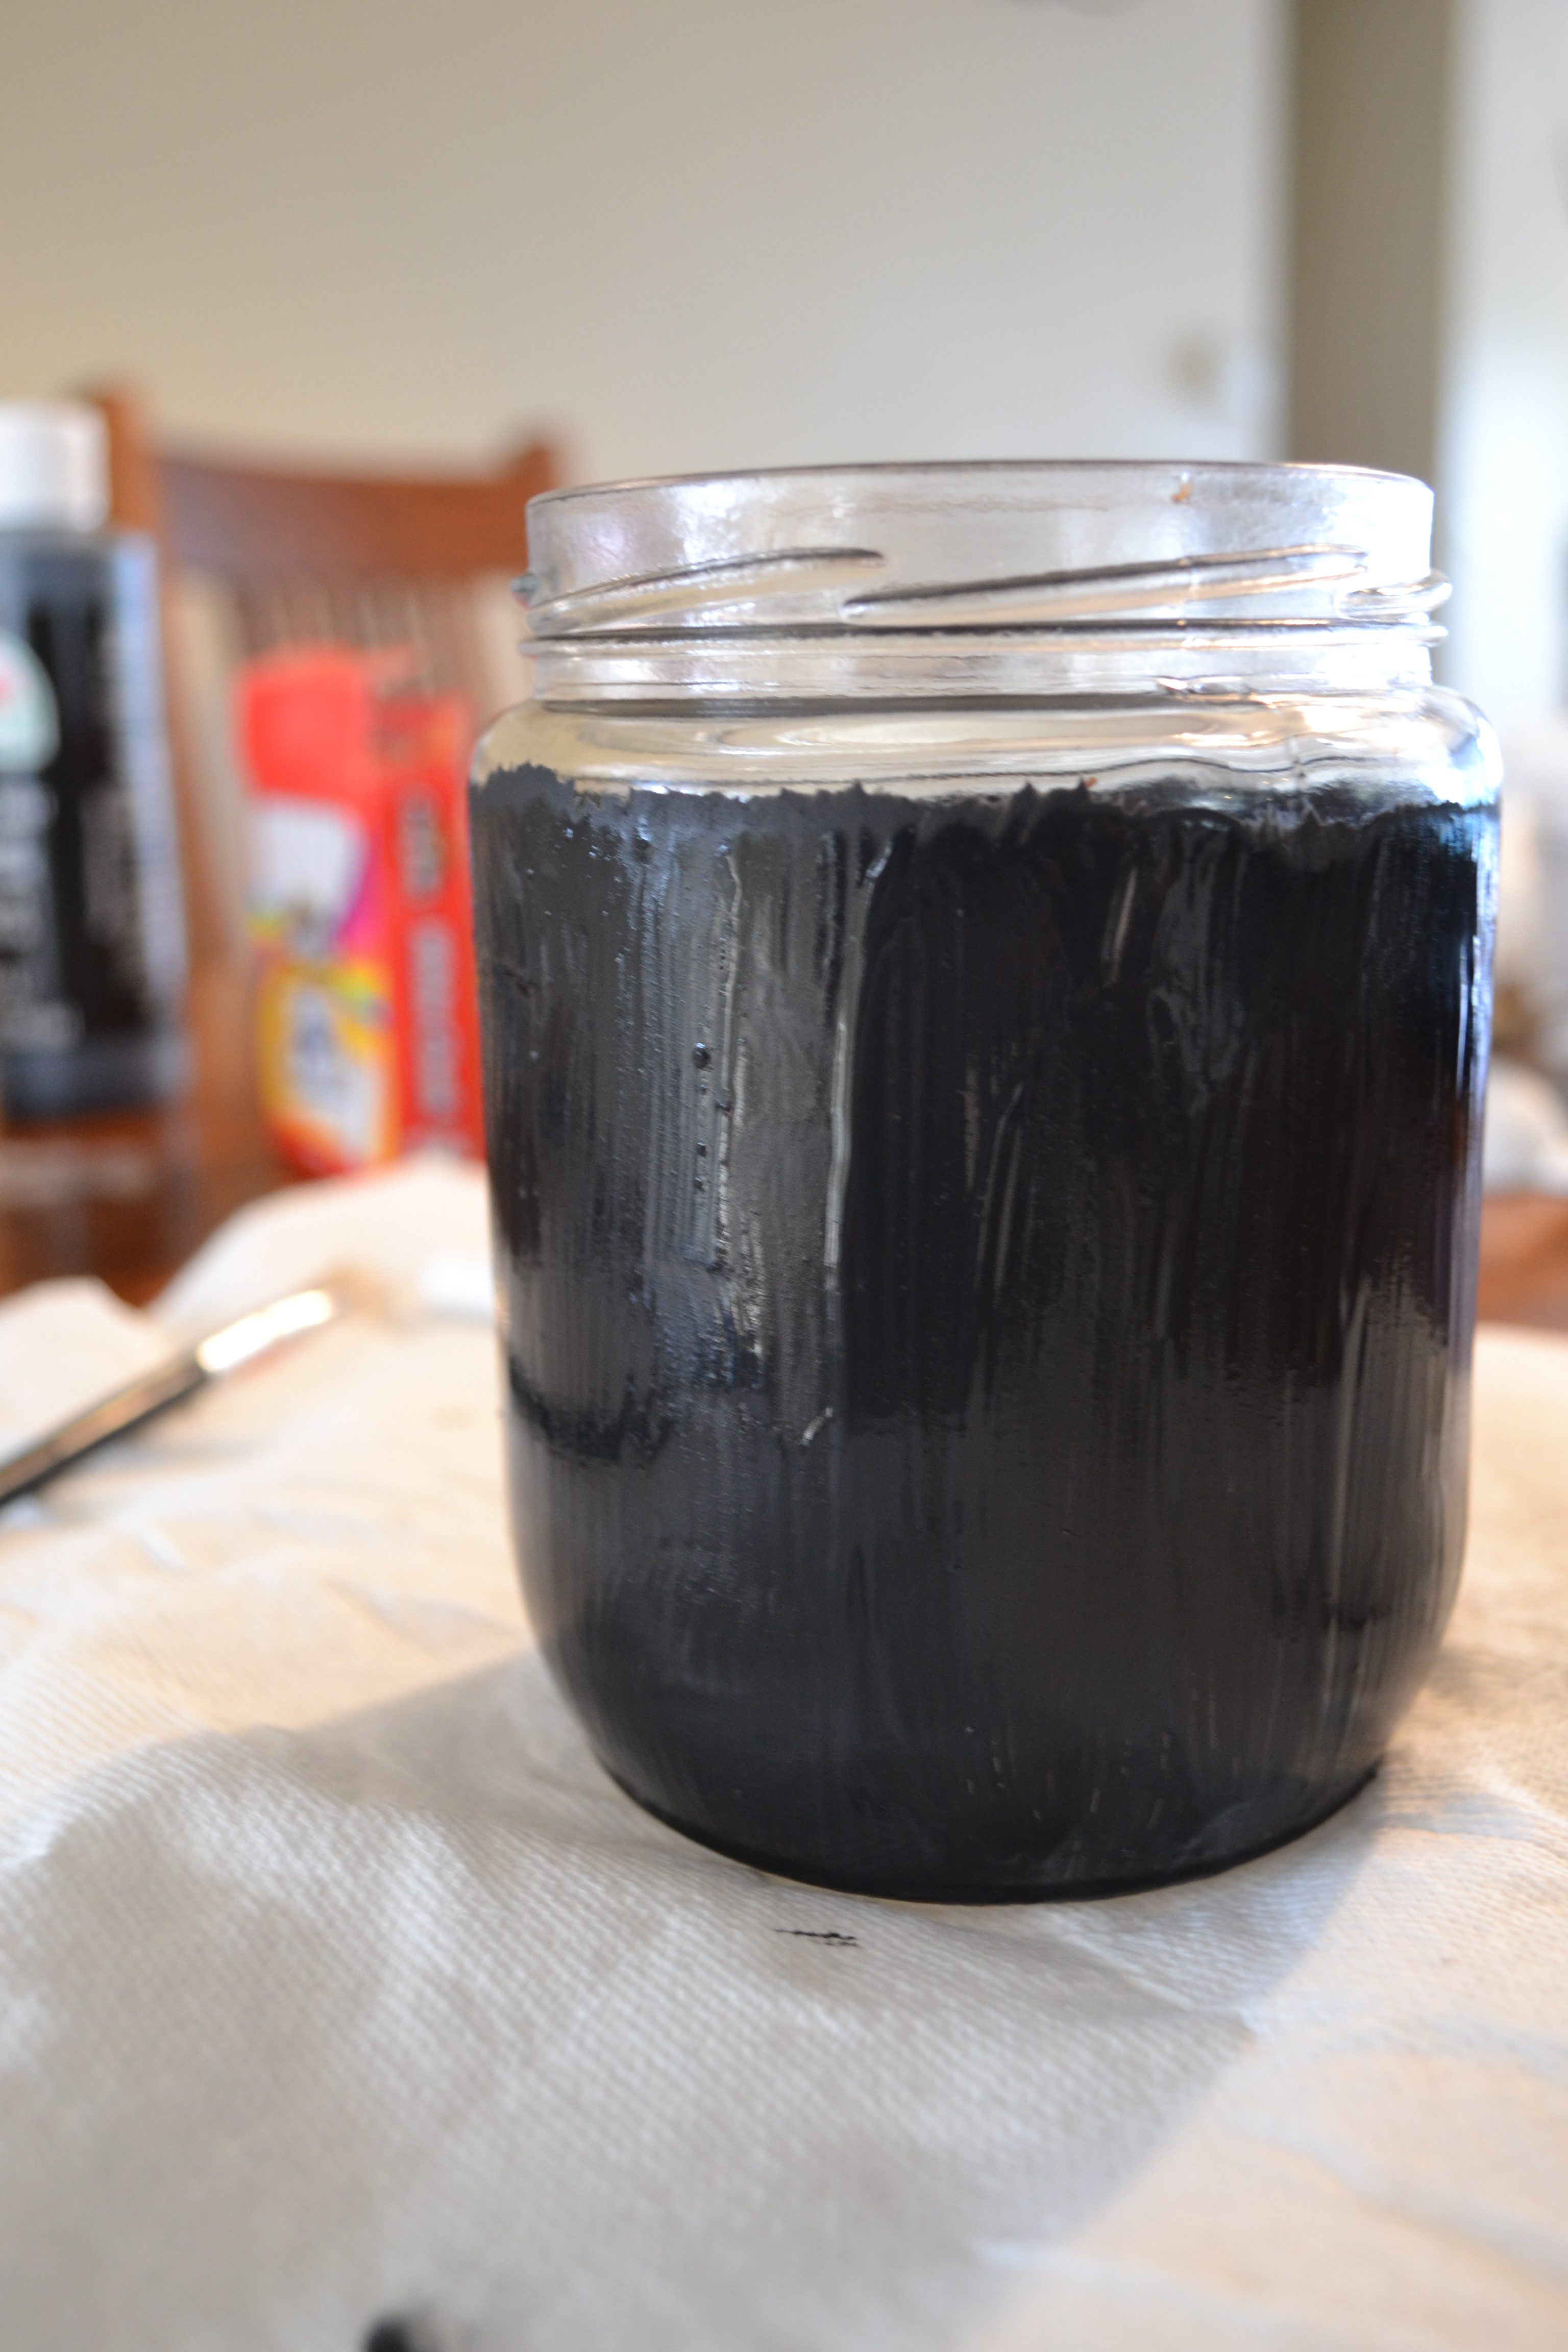
This was in the middle of one of the coat applications. I did a few more after this.
The pictures give a quick summing up of what I did. I’m not going to even bother writing down instructions for what I did, because to be quite honest, after following the instructions of Centsational Girl, I sort of messed around with adding more grout, refrigerating it for awhile, and applying several coats. Like I said, quite the test.
So if you really want to make this, go ahead and try one of the two sites recipes I attached earlier in this post. Both the recipes received good reviews and a lot of the time, if you read the comments you can get good ideas to make it even better.
I will take a picture over the weekend so you can see the way mine turned out. In the future I will give this another go around and we’ll see how it goes then.
Until my next crazy experiment or rambling…..carpe diem!
